Updated · View the original (2020)
15 Pro Tips to Prepare Your Home for a Real Estate Photo Shoot
Photography is the one part of a listing you control completely before it ever goes live, and the day the photographer arrives is when that control gets spent. A house that has been properly prepped gives the camera clean rooms, honest space, and even light to work with. A house that has not forces the same photographer to shoot around clutter, glare, and half-lit corners, and the gallery shows it. The difference is not the camera. It is the two or three hours of preparation that happen before the first frame.
The payoff is measurable. Redfin found that homes between $200,000 and $1 million shot with a professional camera sold for $3,400 to $11,200 more relative to their list price than comparable homes with amateur photos. That edge only materializes if the home is ready to be photographed at its best. This is a full walk-through of how to prepare, written for the agent coaching a seller and the seller doing the work, organized the way the shoot actually unfolds: outside first, then room by room, then the light and the small mechanical details that decide whether interiors read crisp or careless.
Start outside: the exterior sets every expectation
The first photo in almost every gallery is the front of the house, and it is the image that decides whether a buyer clicks in or keeps scrolling. Whatever the camera can see from the street either invites them closer or gives them a reason to move on, so the exterior earns the first block of your attention, not an afterthought at the end.
1. Clean up the yard
Whether you have a courtyard lot or several acres, the yard has to read tidy and cared for, because a wide lens and a bright sky exaggerate every stray object on the ground. Clean up after pets, and put away garbage cans, toys, bikes, garden tools, hoses, and empty planters. Then handle the living detail: mow and edge the lawn, prune overgrown shrubs and trees, pull weeds from the beds and the cracks in the drive, and sweep cobwebs off the eaves and door frames. If you are shooting in cooler months, clear leaves and debris from walkways, patios, and decks so the hardscape reads clean.
This step matters even more when the shoot includes a drone. Aerial photography looks straight down on the roof, the yard, and the property lines, and it reveals things a ground camera never sees: a cluttered side yard, a tarp over the woodpile, an untrimmed tree line. Commercial drone work also has to be flown by a pilot holding an FAA Part 107 certificate, so plan the aerial as a deliberate part of the shoot rather than an add-on, and give the grounds the same care from above that you give them at eye level.
2. Set the exterior scene
Once the yard is manicured, stage it the way you would stage a room. If you have patio furniture, open the umbrella and arrange the seating as a real gathering spot. Uncover the grill and hide the cover. Take down seasonal and holiday decorations, since they date a listing instantly and pin it to the moment it was shot. Clear the driveway completely and park cars down the street so the frame reads as the buyer's future home, not your current one, and close the garage doors so the facade stays clean and symmetrical. A home that shows especially well at dusk is worth a twilight photo as the lead image, and that shot depends entirely on the exterior being staged and lit before the light drops.
3. Ready the porch and entry
A porch, deck, or covered entry is a genuine selling feature, and buyers read it as a preview of how the home lives. Make it tidy, clean, and welcoming: sweep it, wipe down the rails, and clear away children's and pet toys. Replace faded or worn cushions on any furniture, because sun-bleached fabric photographs as tired even when it is perfectly usable in person. A clean entry also sets up the transition shot from outside to inside, the image that carries a buyer's eye across the threshold, so it deserves the same attention as the rooms beyond it.
4. Get the pool camera-ready
A pool is one of the strongest amenities a Texas listing can show, and the camera is unforgiving about its condition. Clean and clear the water right before the shoot, because a cloudy or leaf-strewn pool photographs worse than no pool at all and reads as deferred maintenance. Hide the vacuum, the hose, and any cleaning supplies, and switch on fountains or water features so the surface has life and movement in the frame. Clear water catching the sky is the shot that sells the backyard, and it only happens if the pool is prepped the day of, not the week before.
Inside: prep every room to read clean and open
Interiors are where most of the gallery lives and where preparation pays off room by room. The goal through this whole section is the same: give the lens uncluttered surfaces, clean detail, and space to breathe, so each room photographs larger and more inviting than a snapshot would suggest.
5. Declutter
Start by clearing the visual noise. Put away clothing, dishes, towels, toys, and the small everyday objects your eye has stopped noticing, and tuck shoes and jackets into a closet so they stay out of frame. The camera records every item with the same clarity as the finishes, so anything left out competes with the house for attention. Items can be removed digitally after the fact, but that adds cost and time, and it is always cleaner to move a laundry basket than to pay to erase one.
6. Deep-clean every room
High-resolution photography reveals what a casual glance forgives. Dust, sweep, and vacuum every room, and pay attention to the things a wide lens catches from across the space: cobwebs in ceiling corners, pet hair on upholstery, smudges on glass, water spots on faucets. Leave fresh vacuum lines in the carpet, a small touch that reads as a professionally kept home. Clean windows earn their own mention, because dirty glass dulls the natural light the entire interior depends on and can show as streaks in the final shot.
7. Depersonalize the home
A buyer needs to picture their life in the home, and personal history quietly blocks that. Take down family photos, and where a bare wall would look stark, replace them with neutral landscapes or generic art. Remove anything a stranger might read as political, religious, or otherwise pointed, since the aim is to keep every buyer focused on the house rather than on you. A buyer can add their own furniture in their imagination in seconds, but they cannot mentally subtract someone else's presence, so this edit does real work in every interior frame.
8. Prepare the kitchen
Counters make or break a kitchen photo, and buyers read a clear counter as more space and a cluttered one as less. Clear the surfaces: toasters, mixers, coffee makers, knife blocks, and decorations all come off, and the refrigerator front gets stripped of magnets, calendars, and artwork, because a covered fridge is one of the fastest tells of an occupied home. Leave one deliberate object at most, a bowl of fruit or a single vase, and put the rest away rather than pushing it to the edge of the frame. Empty the sink, clean every appliance and surface, and move the trash can out of sight. In the dining area, clear and polish the table, add one low centerpiece, straighten the chairs evenly, and remove booster seats. Buyers open doors on a showing, so the clean look should be real, not staged an inch deep.
9. Prepare the bathroom
Bathrooms photograph best when they look like no one has ever used them, so aim for hotel-clean. Tuck away everything in the shower and on the counter: shampoos, razors, soaps, medication, toothbrushes, makeup, and the hair dryer. Those small bottles read as visual static, and a bare, gleaming counter reads as calm and space. Remove used towels and either hang crisp matching ones or leave the rods empty and wiped down. Put the toilet seat down, close cabinet and closet doors, and pull the bath mat. Make the sink, tub, toilet, and glass spotless, since water spots and soap scum show clearly under bright light.
10. Prepare the bedrooms
A bedroom should photograph as a place to rest, which means clearing the clutter that marks a specific occupant. Take personal items off the nightstands and dresser tops, and route phone and device charging cables out of sight, because a tangle of cords is one of the messiest things a wide lens can catch. Make every bed tight, iron the linens and bed skirts if they need it, and arrange decorative pillows so the bed reads as the intentional focal point. Move anything stored under the bed if it can be seen from across the room, and give closets a quick order, since a spacious, organized closet is a selling feature worth showing.
11. Prepare the living room
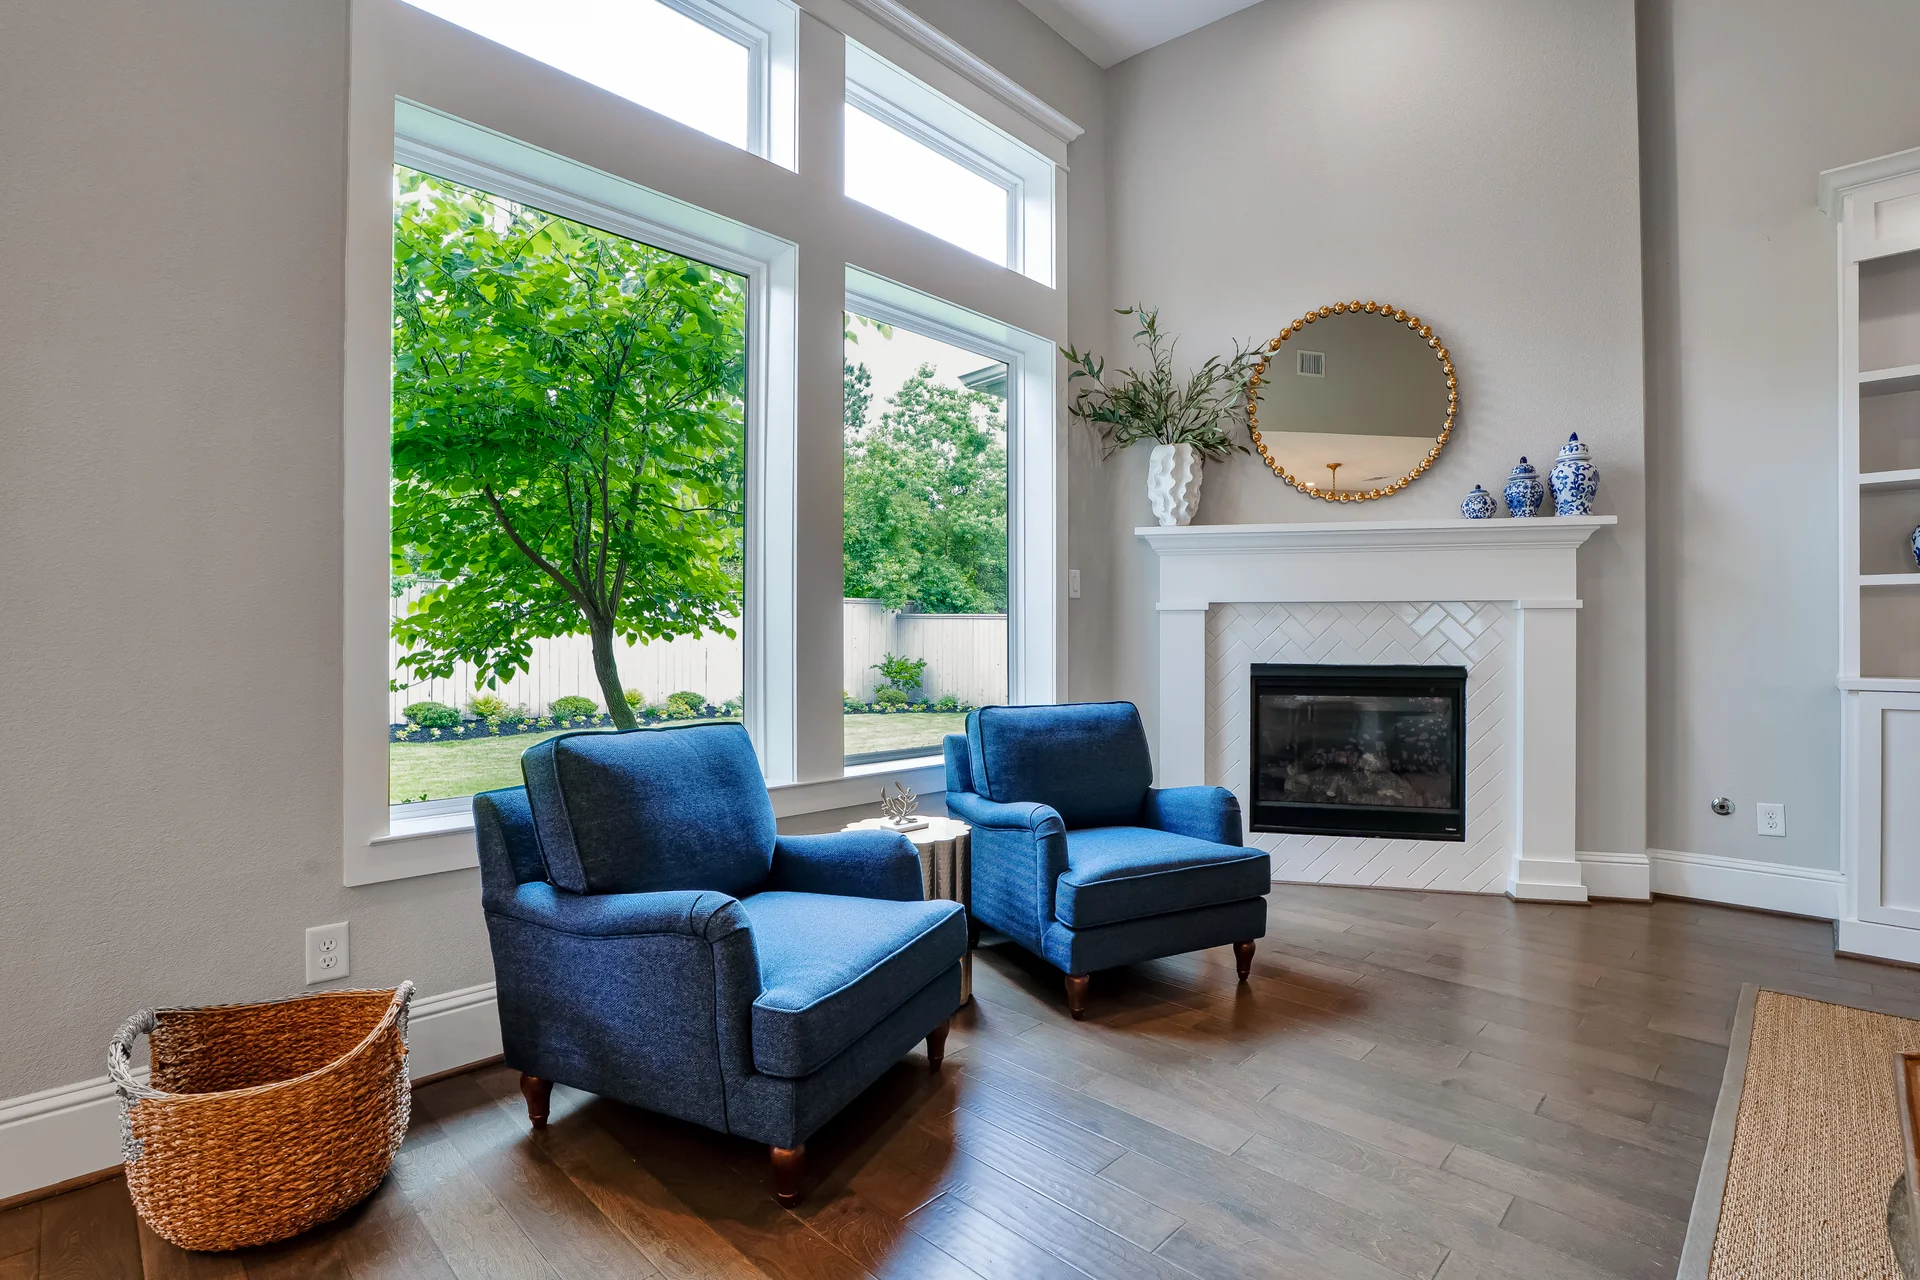
The main living space is where a buyer decides whether they can see themselves in the home, so it has to read open and calm. Clear stacks of papers, magazines, and mail, and put away remotes, throw blankets, and other everyday items. Pare the mantel to a few intentional pieces rather than a crowded row. Arrange the furniture into a clean, welcoming layout, fluff and place the pillows with purpose, and remove stray toys. A room with space to breathe photographs larger and more designed than one packed to the walls.
Light and space: what makes interiors read crisp
The final set of steps is where good preparation separates from great. Interiors are one of the hardest subjects in photography because the eye and the camera handle light differently, and a few deliberate choices before the shoot give the photographer a far better starting point than editing can rescue afterward.
12. Light up the space
Let in as much light as the home has. Turn on every overhead fixture and lamp, and open all blinds and window treatments so daylight fills the rooms. Test the lights ahead of time and replace any burned-out bulbs, and while you are at it, match the color temperature across a room, so one lamp does not glow orange while the window reads cool blue. Mismatched bulbs are a common, avoidable flaw that a photographer then has to correct in editing, and getting it right in advance keeps the whole frame looking true. Check the exterior lighting too, especially if any of the shoot happens near dusk.
13. Remove unnecessary furniture and decorations
An empty home feels cold, but a crowded one photographs small, and buyers are trying to imagine their own furniture in the space rather than navigate yours. The more objects in a room, the tighter it looks through a lens, so pull the extra chairs, side tables, and oversized pieces that make a room feel packed. If you have lived comfortably with a room full of furniture, it can be genuinely hard to see how much to remove, and a stager is worth consulting when that judgment is difficult. When furniture removal leaves a room looking sparse, or the home is vacant, virtual staging can furnish the empty space convincingly from the photos, as long as the listing clearly discloses that the rooms are digitally staged. Honest staging that reads as space and possibility is exactly why prepared homes work: staged listings spend up to 73% less time on the market than cluttered ones.
14. Pull floor mats and runners
Small floor mats visually chop up a room and make it read smaller, so roll up the mats in the kitchen, laundry, and bathrooms to give the floor a continuous, open look. Larger area rugs are a judgment call: some anchor a room and warm it up, while others hide quality hardwood the buyer would rather see. A stager or your photographer can tell you which rugs help the shot and which ones to pull, but as a rule, the more uninterrupted floor a buyer can see, the larger the room photographs.
15. Turn off TVs, ceiling fans, and screens
This last step is about the mechanics of how interiors are captured. Most professionals shoot interiors by blending several bracketed exposures, a technique often called HDR, which combines a bright frame, a dark frame, and everything between into one balanced image where the Texas sky reads blue through the window and the room stays warm and lit. Anything moving during that sequence turns strange: a spinning ceiling fan blurs into a smear, and an active television or computer screen shifts between frames and ghosts. Turn off every TV, monitor, and ceiling fan before the photographer arrives, and dust the dark screens, since a black screen with a film of dust or a glaring reflection pulls the eye straight to it. Removing motion from the frame is the difference between a clean, sharp interior and one the photographer has to fight in editing.
The last hour before the shoot
A few final moves keep the day smooth and the gallery clean. Settle pets somewhere they will be out of the frame and out of the photographer's way, whether that is a crate tucked out of sight, a closed room with their food and water, or a walk with a neighbor for the duration. Before listing, make sure the home is free of pet hair and, just as important, of pet odor, which owners stop noticing because they live with it; a candid friend is the best judge of whether a home smells the way you hope it does. It also helps to browse other local listings beforehand and notice which galleries make you want to see more. The homes that stand out are almost always the ones that were prepared and photographed with care, and that is the standard to match.
None of this is wasted effort, because the home has to be show-ready for buyers within days of listing anyway. Preparing for the camera is simply doing that work a little early, and it means the photos capture the home at its genuine best. When the house is ready, the photography carries it to every buyer scrolling online. See how we shoot Texas real estate, and the standard we hold across every market we cover.